| Properties | ||
| Count | The number of strips to render. Range: 0.5 to 200; Default: 10 |
|
| Height | The height of each strip. Range: 0 to 15; Default: 1 |
|
| Angle | The angle of the strips. Use 0º for horizonta; strips and 90º for vertical strips. Range: -3600º to 3600º; Default: 0º |
|
| Thickness | The thickness of each individual strip. When this is set to zero, the strip has no thickness and Edge Color is ignored. Range: 0 to 1; Default: 0 |
|
| Phase | An amount by which to shift each strip perpendicular to the Angle, as a ratio of the gap between the strips. Range: -1000 to 1000; Default: 0 |
|
| Invert | Inverts the meaning of the Height Map so that areas that would normally result in taller strips will instead result in shorter, cutaway strips. Default: off |
|
| Edge Color | The color to use for the edges of the strips. This is applied only if the Thickness is greater than zero. Default: |
|
| Color 1 | The color to use for the top of each strip. Default: |
|
| Color 2 | The color to use for the bottom of each strip. If you don't want gradient strips, make sure this is the same as Color 1. Default: |
|
| Light Color | The color of the light source. This only applies if Thickness is greater than zero, in which case this color is used to light the edges of the strips based on the Light Angle. Default: |
|
| Light Angle | The angle of the light source used to light the edges of strips when the Thickness is greater than zero. Range: 0º to 3600º; Default: 0º |
|
| Height Map | The basis on which the height of each strip is determined at each pixel along the length of the strip.
|
|
| Mask To Layer | Determines if the strip samples are masked to the original alpha (opacity) of the layer.
|
|
Usage
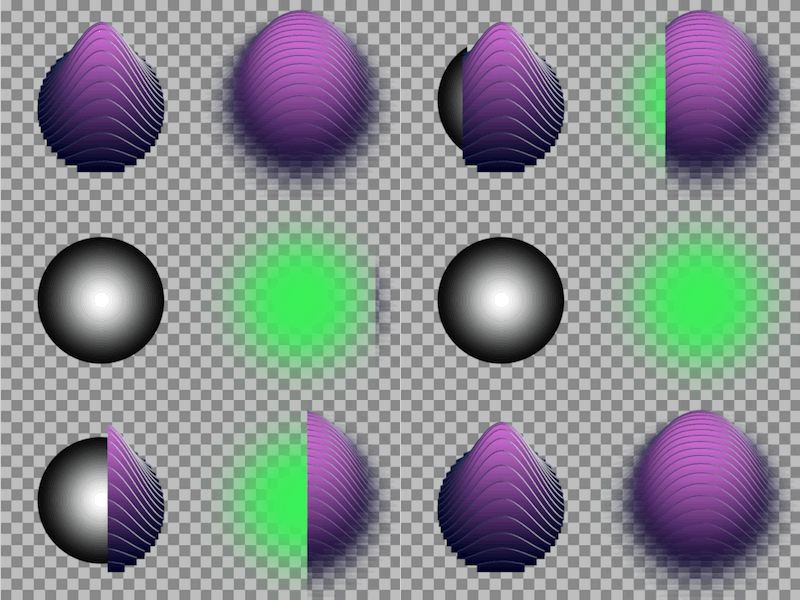
This effect renders multiple overlapping strips of material. The height of each strip varies continuously along its length based on either the luminance (brightness) or alpha (opacity) of each pixel in the layer (you can choose which to use). Because the layer's pixels affect (or map to) the strip height, in this context we refer to them as a Height Map (much like the height map used in the Bump Map effect).
Getting a Height Map
To start with, you'll need a layer to use as a height map. You can use either a layer with partially opaque and transparent parts (an alpha height map) or a layer with bright and dark parts (a luminance height map).

The easiest way to get an alpha height map is to use Gaussian Blur on a shape or vector drawing. You can also use Chroma Key to remove the background of an image or video and then use Gaussian Blur to smooth out the edges.
For a luminance height map, there are many options:
- Use an image or video
- Use gradient fill
- Start with a shape layer and use Solid Matte to fill in the background, then Gaussian Blur or Inner Blur to smooth the edges
- Use effects in the Procedural category, such as Fractal Ridges
Applying the Effect
Once you have a layer to use as a height map, simply apply the Contour Strips effect to it, then change the Height Map setting to either Alpha or Luminance as appropriate for the kind of height map you are using. Then adjust the other settings to achieve the desired results.
Tip: Gaussian Blur
Even when using an image, video, or procedural effect as a height map, applying a very mild Gaussian Blur on the layer before applying Contour Strips can help filter our high frequency "roughness" and make the results much more pleasing.
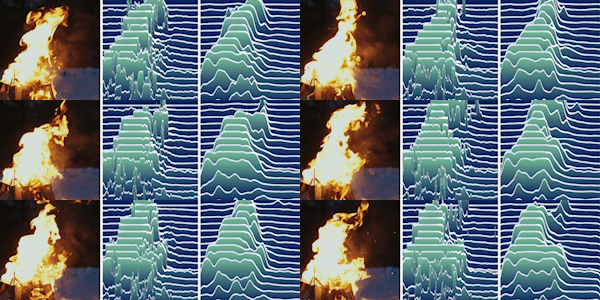
For example, consider this use of Contour Strips:
The video on the left has no effects applied. The middle video has only Contour Strips applied. The video on the right has Gaussian Blur applied before Contour Strips.

