| Properties | ||
| Crop | Crops the layer before tiling it. Set this to zero for no cropping. Positive values crop normally, and negative values add a transparent edge around each tile. Range: 0 to 20; Default: 1 |
|
| Offset | Shifts alternate rows of tiles. By default, rows are shifted horizontally, but Offset Vertically can be turned on to shift alternate columns vertically instead. Each whole-number increments shifts by a whole tile, so setting this to 0.5 will shift by exactly half a tile. Range: -100 to 100; Default: 0 |
|
| Mirror | Turn on to mirror alternate tiles (every other column is flipped horizontally, and every other row is flipped vertically). Default: off |
|
| Offset Vertically | When turned on, changes the behavior of Offset so that alternate columns are offset vertically. When off, Offset works normally, offsetting alternate rows horizontally. Default: off |
|
| Angle | Rotates each tile independently of the others (to rotate the entire grid of tiles together, use the rotation property in Move & Transform) Range: -1800º to 1800º; Default: 0º |
|
Usage
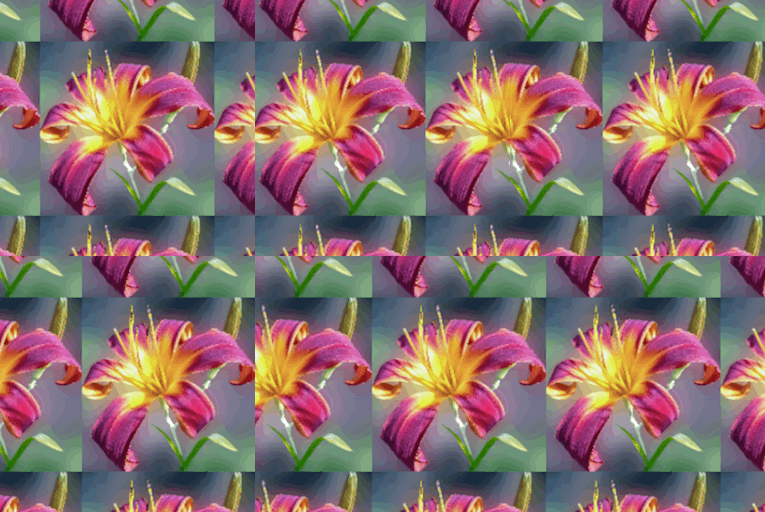
Start with a layer that is smaller than the screen, then apply Tiles and adjust the properties as desired.
Help! I'm getting streaks!
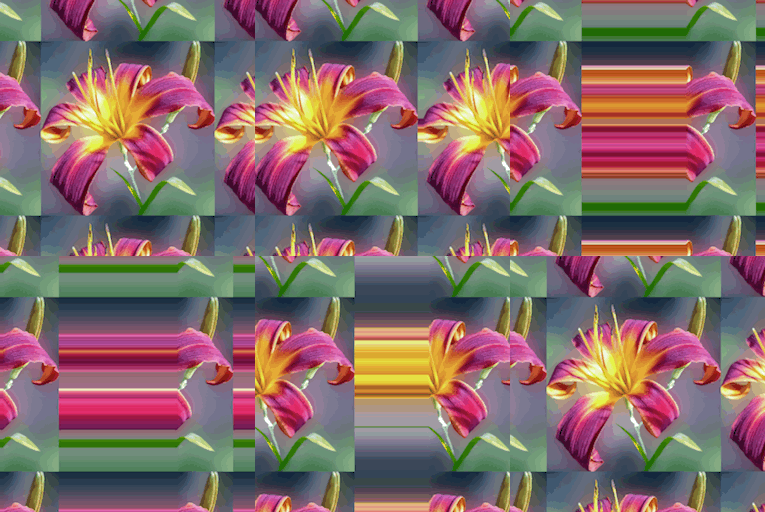
Alight Motion doesn't render parts of layers that are off the screen, so if you have used Move & Transform to place a layer so that it's partly outside the screen, the pixels that the Tiles effect needs in order to work correctly aren't rendered, so you get streaks, like this:
To solve this problem, make sure the layer is entirely visible within the screen before applying Tiles. Be particularly careful of keyframe animation for position and rotation in Move & Transform as this can cause pieces of the layer to go outside of the screen briefly during the animation (for example, the corners when rotating).
If you need to animate the layer so that it goes outside the screen, but also don't want to get streaks, there is a way! Apply Tiles first without any animation. Use Scale in Move & Transform to shrink the layer down (you'll enlarge it later), then long-press the layer header on the timeline to enter multi-select mode and tap the Group icon to make a group containing the tiled layer. Now you can use Scale in Move & Transform to enlarge the group to the original size, and then animate the group (group contents are pre-composed, so there won't be any streaks)
Tiles and Skew
This effect doesn't support the Skew property in Move & Transform. To use Tiles with Skew, apply the tiles effect first, then long-press the layer header to enter multi-select mode and tap the group button to create a group with only the layer (with Tiles) applied, then adjust Skew for the group.
Use Cases
- Repeat the layer in a grid pattern (you can also use Grid Repeat for this, but Tiles will give better preview performance and less preview lag)
- Fill in the blank spaces that appear at the corners of a full-screen layer when animating the layer rotation, such as for a spin transition (turn on Mirror to hide the seams).
- Create brick patterns (draw one brick, then apply the Tile effect and adjust the Offset to be a value close to 0.5)


