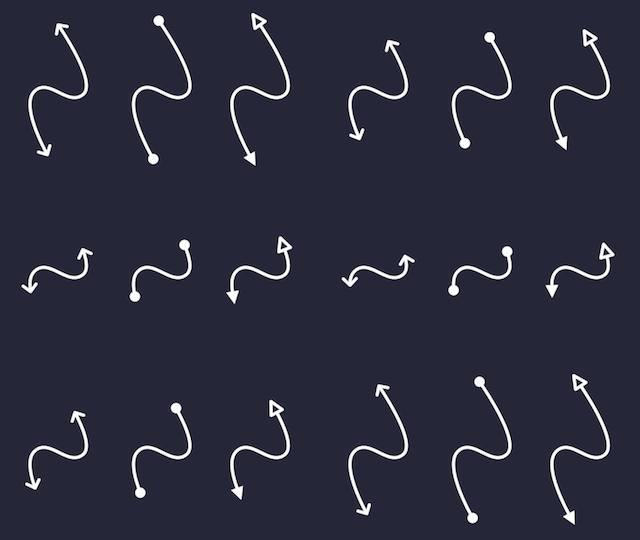
| Properties | ||
| Start | The percentage of the vector outline to be clipped out, measured from the beginning of the outline Range: 0 to 100; Default: 0 |
|
| End | The percentage of the vector outline to be clipped out, measured from the end of the outline Range: 0 to 100; Default: 100 |
|
Usage
This effect looks best when used with:
- Shape, Vector Drawing, or Text layers with Fill turned off (the first option in Color & Fill) and Stroke (in Border & Shadow) turned on.
- Freehand Drawing layers
This effect is not particularly useful with photo and video layers.
To use, apply Drawing Progress to the layer, then adjust Start or End as appropriate. To make the layer look like it is being drawn gradually onto the screen, use keyframe animation to animate End from 0% to 100%.
Tip: Start and End Decorations
When using Drawing Progress with a Stroke from Border & Shadow, you can turn on the start and end decorations in Border & Shadow and the decorations will follow the clipping created by Drawing Progress.
Text Outline Order
Due to technical limitations, When working with text layers, the order of text outlines depends on the font you use and may vary depending on your operating system and how it interprets the font. In particular, it may not match the conventional order used when drawing letters and may not be consistent between different platforms.
Use Cases
- Hand-drawn animation: Use together with Roughen Edges (animate Seed), Time Quantization, and a very mild Turbulent Displace (also animate Seed) to emulate the feel of a hand-drawing animation.
- Drawing to reality: Start with a photo layer, and trace a drawing or sketch on top of it using a Freehand Drawing layer. Apply Drawing Progress to the Freehand Drawing layer and animate End from 0% to 100%. Set the photo layer opacity to 0%, and use keyframe animation with the layer opacity to quickly animate the photo layer to 100% opacity just as the drawing completes. You may also wish to animate the Freehand Drawing layer's opacity from 100% to 0% at the same time.
- Text Drawing Animation: Create a text layer, turn off fill in Color & Fill, and turn on Stroke in Border & Shadow, then use Drawing Progress to animate End from 0% to 100%. For fill, duplicate the text layer. On the backmost copy, delete Drawing Progress, turn off Stroke and choose a fill color, then animate the layer opacity to fade in just as Drawing Progress is completing.
- Flowing Stroke: By animating End from 0% to 100%, and then animating Start from 0% to 100% just a few frames later, you can create a flowing stroke animation. This can be particularly useful with end decorations like arrows.

- Travel Map Montage: Use Vector Drawing to draw a travel path on top of a map, then animate End from 0% to 100%. For the classic movie look, set the stroke color to red, then make a montage of video layers at 30% opacity, apply Vignette to the montage, place them between map layer and the Vector Drawing layer.

